在图像处理中,有的时候会有对图片进行角度旋转的处理,尤其是在计算机视觉中对于图像扩充,旋转角度扩充图片是一种常见的处理。本文就详细的介绍一下,感兴趣的可以了解一下
背景
在图像处理中,有的时候会有对图片进行角度旋转的处理,尤其是在计算机视觉中对于图像扩充,旋转角度扩充图片是一种常见的处理。这种旋转图片的应用场景也比较多,比如用户上传图片是竖着的时候,不好进行处理,也需要对其进行旋转,以便后续算法处理。常见的旋转处理有两种方式,一种是转化为numpy矩阵后,对numpy矩阵进行处理,另外一种是使用opencv自带的函数进行各种变换处理,以实现旋转角度的结果。
原始图像:
![[外链图片转存失败,源站可能有防盗链机制,建议将图片保存下来直接上传(img-Fo40V1TN-1592548330569)(C:\Users\DELL-3020\AppData\Roaming\Typora\typora-user-images\image-20200618180728108.jpg-600)]](https://ss.0133.cn/article/12/2e/5b/122e5be84f8865ff4ca661766f2df22d.jpg-600)
opencv函数
旋转中常用的函数有以下几个函数
cv2.transpose: 对图像矩阵进行转置处理
img = cv2.imread(origin_img_path) img_transpose = cv2.transpose(img) cv2.imshow('transpose', img_transpose) cv2.waitKey(0) 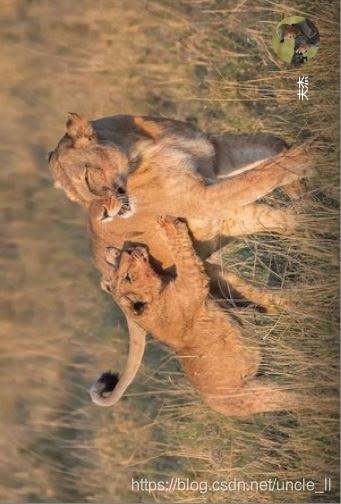
cv2.flip : 对图像矩阵进行翻转处理,参数可以设置为1,0,-1,分别对应着水平翻转、垂直翻转、水平垂直翻转。
img = cv2.imread(origin_img_path) img_flip = cv2.flip(img, 1) cv2.imshow('flip', img_flip) cv2.waitKey(0) 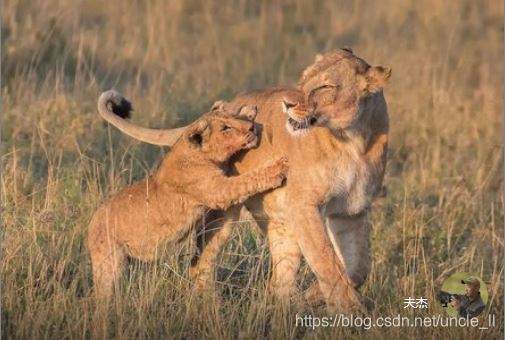
cv2.getRotationMatrix2D: 构建旋转矩阵M,后续旋转时候只需要与旋转矩阵进行乘积即可完成旋转操作
旋转矩阵M
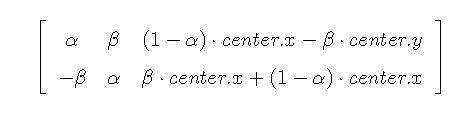
img = cv2.imread(origin_img_path) rows, cols = img.shape # 这里的第一个参数为旋转中心,第二个为旋转角度,第三个为旋转后的缩放因子 # 可以通过设置旋转中心,缩放因子以及窗口大小来防止旋转后超出边界的问题 M = cv2.getRotationMatrix2D((cols/2,rows/2),45,0.6)
cv2.warpAffine: 对图像进行仿射变换,一般进行平移或者旋转操作
img = cv2.imread(origin_img_path) cv2.warpAffine(img, M,(lengh,lengh),borderValue=(255,255,255)) # M为上面的旋转矩阵
numpy函数
numpy实现旋转一般是使用numpy.rot90对图像进行90度倍数的旋转操作
官方介绍:
numpy.rot90(m, k=1, axes=(0, 1))[source]Rotate an array by 90 degrees in the plane specified by axes.
Rotation direction is from the first towards the second axis.
k: Number of times the array is rotated by 90 degrees.
关键参数k表示旋转90度的倍数,k的取值一般为1、2、3,分别表示旋转90度、180度、270度;k也可以取负数,-1、-2、-3。k取正数表示逆时针旋转,取负数表示顺时针旋转。
旋转90度
逆时针
- 使用opencv函数的转置操作+翻转操作实现旋转
- 使用numpy.rot90实现
def rotateAntiClockWise90(img_file): # 逆时针旋转90度 img = cv2.imread(img_file) trans_img = cv2.transpose(img) img90 = cv2.flip(trans_img, 0) cv2.imshow("rotate", img90) cv2.waitKey(0) return img90 def totateAntiClockWise90ByNumpy(img_file): # np.rot90(img, -1) 逆时针旋转90度 img = cv2.imread(img_file) img90 = np.rot90(img, -1) cv2.imshow("rotate", img90) cv2.waitKey(0) return img90 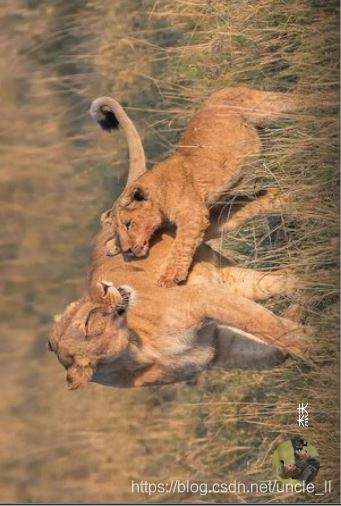
顺时针
def rotateClockWise90(self, img_file): img = cv2.imread(img_file) trans_img = cv2.transpose( img ) img90 = cv2.flip(trans_img, 1) cv2.imshow("rotate", img90) cv2.waitKey(0) return img90 def totateClockWise90ByNumpy(img_file): # np.rot90(img, 1) 顺时针旋转90度 img = cv2.imread(img_file) img90 = np.rot90(img, 1) cv2.imshow("rotate", img90) cv2.waitKey(0) return img90 
旋转180度、270度
使用numpy.rot90实现旋转180度、270度
180度
img180 = np.rot90(img, 2) cv2.imshow("rotate", img180) cv2.waitKey(0) 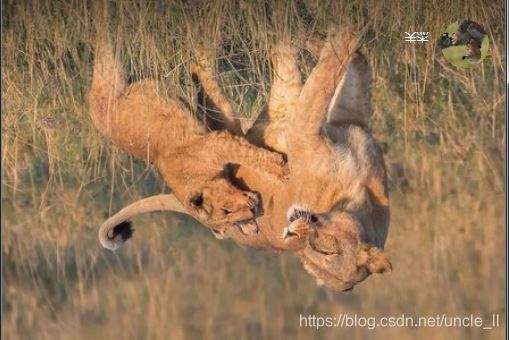
270 度
img270 = np.rot90(img, 3) cv2.imshow("rotate", img270) cv2.waitKey(0) 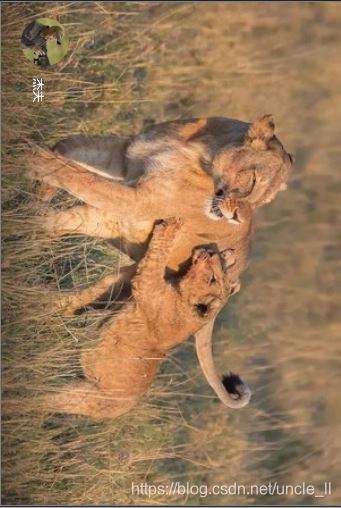
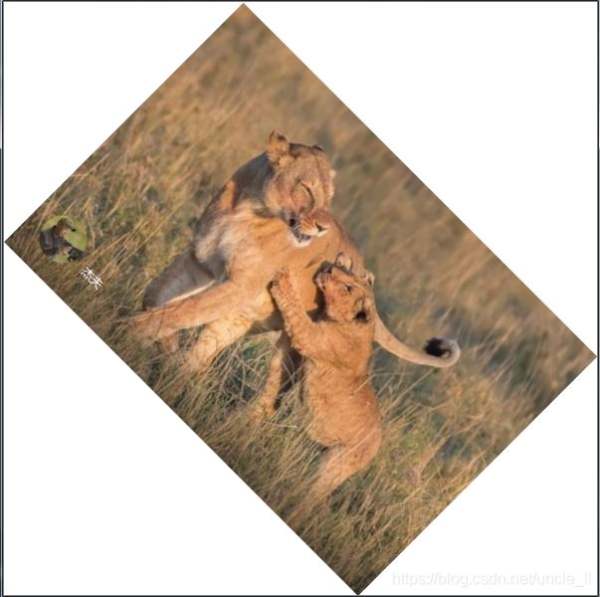
旋转任意角度,以任意色值填充背景
import cv2 from math import * import numpy as np # 旋转angle角度,缺失背景白色(255, 255, 255)填充 def rotate_bound_white_bg(image, angle): # grab the dimensions of the image and then determine the # center (h, w) = image.shape[:2] (cX, cY) = (w // 2, h // 2) # grab the rotation matrix (applying the negative of the # angle to rotate clockwise), then grab the sine and cosine # (i.e., the rotation components of the matrix) # -angle位置参数为角度参数负值表示顺时针旋转; 1.0位置参数scale是调整尺寸比例(图像缩放参数),建议0.75 M = cv2.getRotationMatrix2D((cX, cY), -angle, 1.0) cos = np.abs(M[0, 0]) sin = np.abs(M[0, 1]) # compute the new bounding dimensions of the image nW = int((h * sin) + (w * cos)) nH = int((h * cos) + (w * sin)) # adjust the rotation matrix to take into account translation M[0, 2] += (nW / 2) - cX M[1, 2] += (nH / 2) - cY # perform the actual rotation and return the image # borderValue 缺失背景填充色彩,此处为白色,可自定义 return cv2.warpAffine(image, M, (nW, nH),borderValue=(255,255,255)) # borderValue 缺省,默认是黑色(0, 0 , 0) # return cv2.warpAffine(image, M, (nW, nH)) img = cv2.imread("dog.png-600") imgRotation = rotate_bound_white_bg(img, 45) cv2.imshow("img",img) cv2.imshow("imgRotation",imgRotation) cv2.waitKey(0) 45度
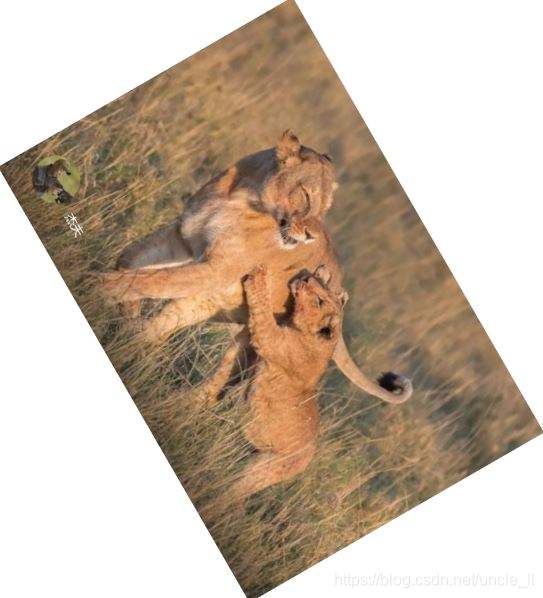
60度
参考
到此这篇关于python opencv旋转图片的使用方法的文章就介绍到这了,更多相关python opencv旋转图片内容请搜索html中文网以前的文章或继续浏览下面的相关文章希望大家以后多多支持html中文网!
以上就是python opencv旋转图片的使用方法的详细内容,更多请关注0133技术站其它相关文章!


